Recover Deleted Files Using the Free Open Source Tool PhotoRec
A while ago I wrote an article on How to Recover a Disk Partition with TestDisk and GParted Live. While TestDisk is a powerful tool for recovering lost partitions, when the aim is to just recover the individual files, there is a separate dedicated application bundled with TestDisk, called PhotoRec, which is more suitable for this kind of work.
PhotoRec is free and open source, just like TestDisk, and is pretty much compatible with all popular operating systems (yup, MS-DOS too!). Furthermore, even though its name might suggest otherwise, it can find and recover any type of files — not just photos.
Download PhotoRec
Head over to the download page and pick the version corresponding to your operating system.
If you are a Windows user, you most probably want Windows 64-bit. If you are on Linux, there are good chances that TestDisk/PhotoRec is already included in your distribution’s repositories (try apt-cache policy testdisk, or equivalent).
The application is portable, which means that after you extract the files, you can use it immediately — no installation is required.
Recovering files with PhotoRec
For this tutorial, I copied a bunch of jpeg files into a USB disk, and then deleted them. Based on my past experience with PhotoRec, even if you (fast) format, or partially overwrite your disk, PhotoRec should still be able to recover some, or all of your files intact.
Follow the steps below to recover your files:
- Create the directory where the recovered files will be saved. That directory can be anywhere in your filesystem, but you should choose a directory that is not located in the same partition you are trying to recover files from.
- PhotoRec requires administrator privileges to run, so right click on
photorec_win.exeand Run as administrator in Windows, or executesudo photorecin Linux.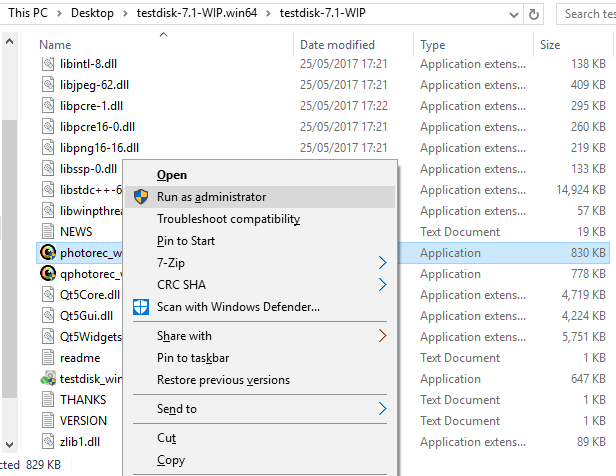
- Select the disk where your files are located. Don’t let the Linux device paths (e.g.
/dev/sdb) confuse you. Try to identify your disk based on its capacity and name, and then press Enter.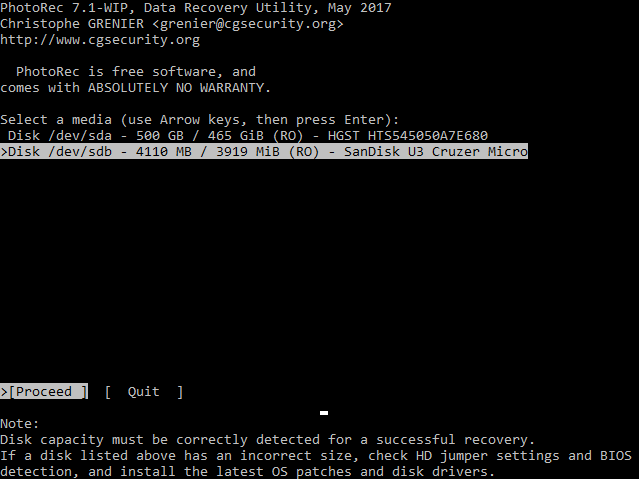
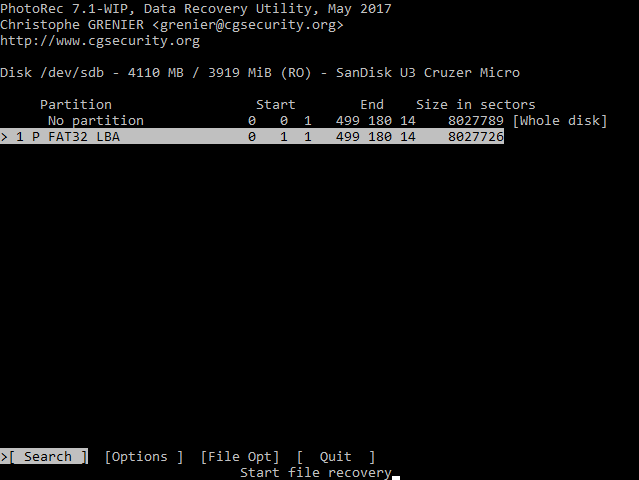
- Select the partition where your files are located, or choose Whole disk if your disk doesn’t have one. If you are only interested in recovering specific file types, File opt allows you to limit the search to those file types only (improves recovery speed). When you are ready to proceed, select Search and press Enter.
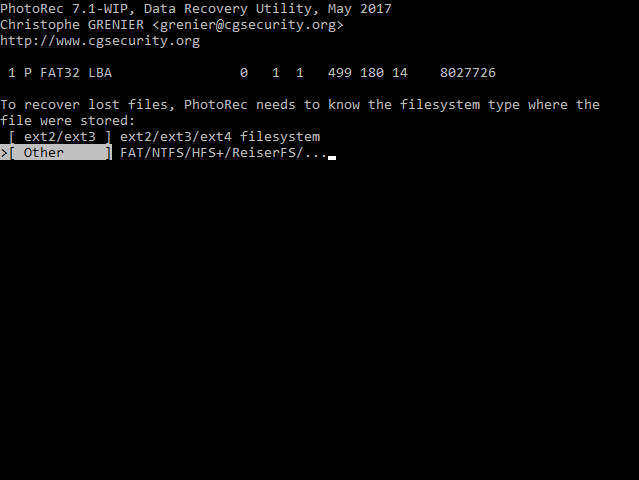
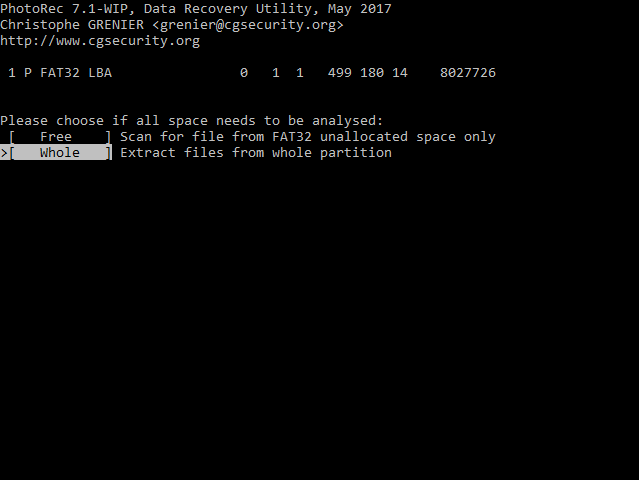
- Select the type of the filesystem where your files were located before they were deleted. If you are not sure, just choose Other.
- Choose if you want to scan the whole disk, or just the unallocated (free) space. The latter is faster, but the scan might miss some of your files.
- Here you choose the directory you created in step #1. Selecting the double dots (..) moves up in the hierarchy. When you find your directory, select the single dot (.), as in the screenshot below, and press C.

- Wait for PhotoRec to recover your files. If your disk is too large, expect this step to take a while.
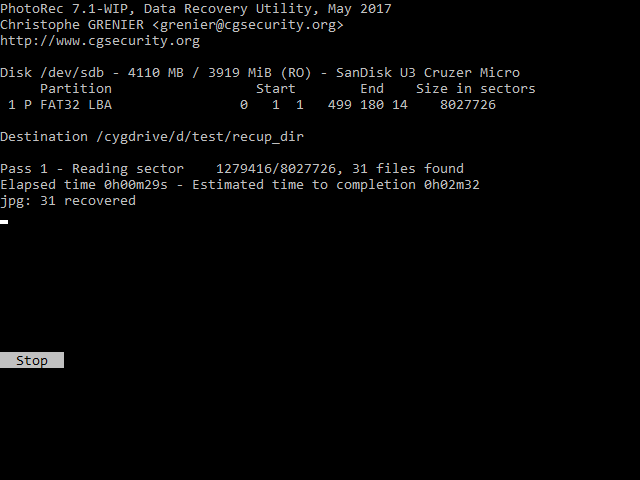
You’ll find your files in the output directory. Enjoy!