Backing Up Your Data on an Encrypted USB Drive with Back In Time
There is no doubt that we should backup our data often. Anybody who’s lost data because of a crashed hard drive knows that. Backing up data can be a tedious task, but fortunately there are tools, like Back In Time, that brings it all down to a click of a button.
Back In Time is a simple backup tool for Linux, with a nice GUI, that one can use to take snapshots of pre-defined files and directories. In this guide, I’ll show you not only how to use Back In Time to backup your data, but also how to store your backups on an encrypted USB drive for additional privacy and security.
Encrypting your USB Drive
- Start by installing
cryptsetup:sudo apt-get install cryptsetup Open the Gnome Disk Utility, which comes pre-installed on Ubuntu (Disks), select your USB device and the partition you want to encrypt. Click on the format button.
As format type select
LUKS + Ext4. Enter a password, an (optional) name for your partition, and then click onFormat...:
- Before writing anything on your USB drive, unplug the device, and plug it in again to test your password. A dialog should appear asking for your password, which you should type in. Click
connectto continue: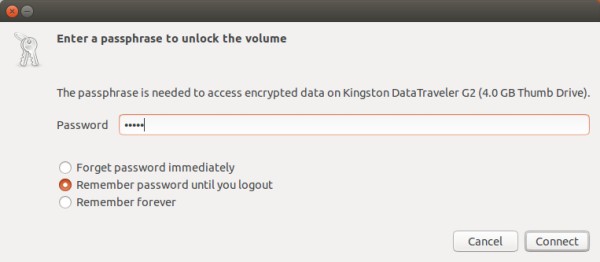
Backing Up Your Data with Back In Time
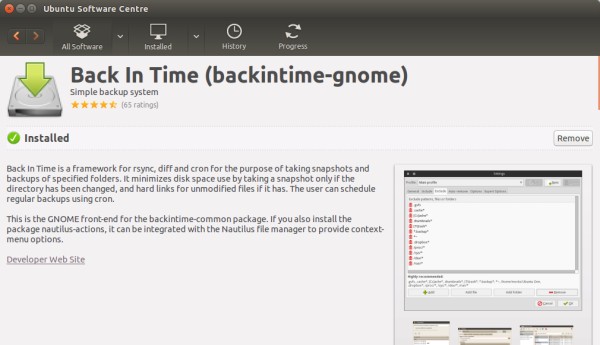
You can install Back In Time using the Ubuntu Software Center:
The first time you run Back In Time, you should see the
Settingsdialog (if not, click on the settings button on the toolbar).In the settings dialog, click on
Newto create a new profileMyProfile, and then select a directory in your encrypted USB drive where your backup snapshots should be saved: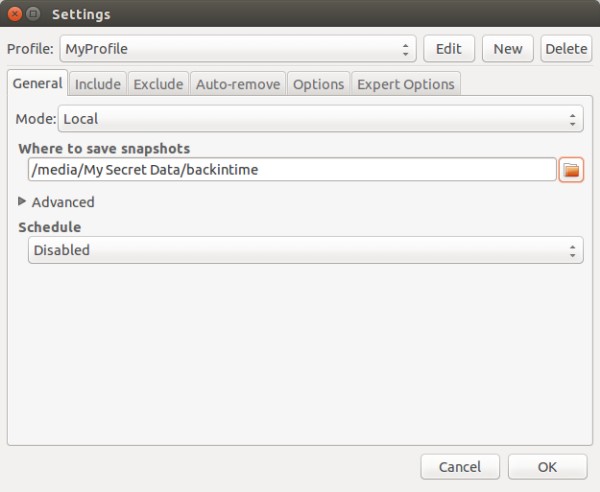
Click on the
Includetab, and select the files and folders that you want to backup: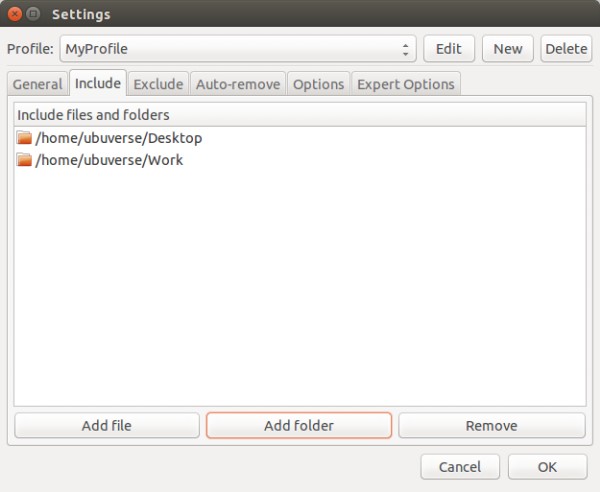
You can also select which files/folders you want to exclude from being backed up, on the
Excludetab: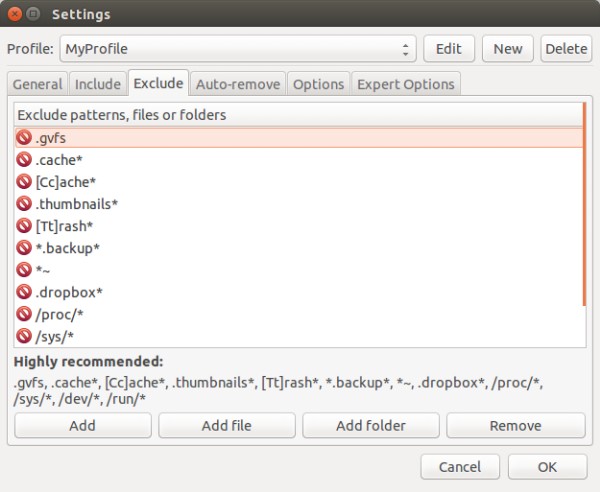
When you are finished, click
OK. On the main window, clicking on the snapshot button will backup your data: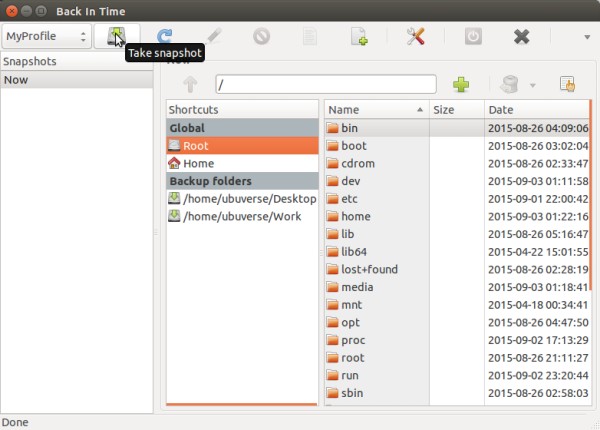
A new snapshot should appear under the snapshots list. Restoring your data is just as easy. Select your snapshot on the left and file name on the right, and click the
Restorebutton like shown in the picture: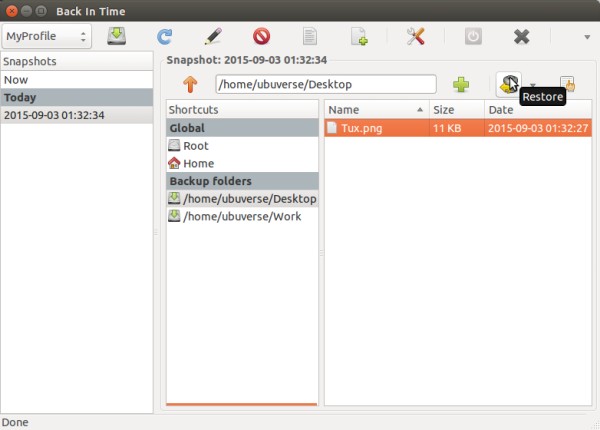
For more information, you can check the official Back In Time documentation here.